Manage Disposal Records
Select from the following for information on managing disposal records:
-
Navigate to Estates > Disposal > New Disposal.
Alternatively, search for an existing Disposal record.
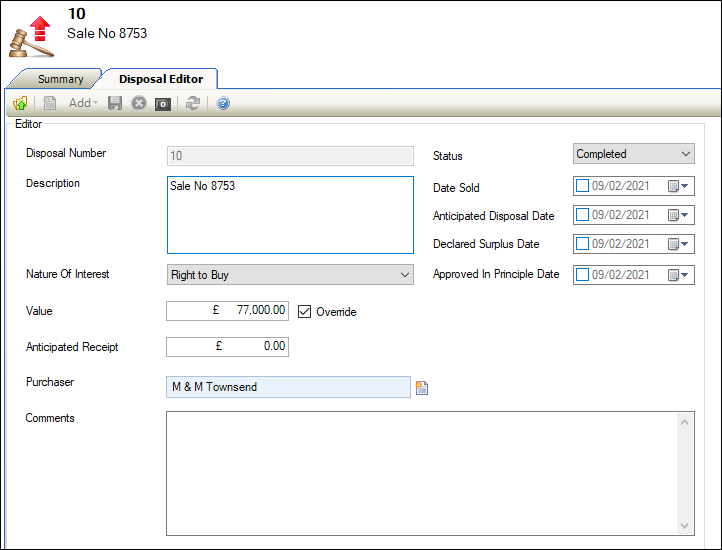
The Disposal Editor is displayed.
-
Enter or edit the relevant details.
The fields on the Disposal Editor are described in the following table.
| This field | Holds this information... |
|---|---|
| Disposal Number | A unique reference number for the disposal. This field is mandatory. This may be read-only and populated automatically based on the Disposal Auto Unique Number (under Auto Numbering) in System Settings (accessed by navigating to Tools > System Options and then clicking the System Options button). |
| Description | A description of the disposal. This field is mandatory. |
| Nature of Interest |
The nature of interest in the disposal. Select from the drop-down list. Note: These can be defined in Nature Of Interest reference data (accessed by navigating to Estates > Disposal > Disposal). |
| Status |
The current status of the disposal. Select from the drop-down list. Note: These can be defined in Disposal Status reference data (accessed by navigating to Estates > Disposal > Disposal). |
| Date Sold | The date the disposal was sold to the purchaser. |
| Anticipated Disposal Date | The anticipated date of the disposal. |
| Declared Surplus Date | The date it was agreed that the disposal could take place. |
| Approved In Principle Date | The date that the disposal was approved in principle. |
| Value | The value of the disposal. |
| Anticipated Receipt | The amount expected to be received for the disposal. |
| Purchaser | The purchaser. The purchaser must exist as an agency in K2 in order to be added. Refer to Add or Edit an Agency for further information. |
| Comments | Comments relating to the disposal. |
- Click Save.
To add or edit a disposal item:
-
Search for and open the relevant disposal record.
-
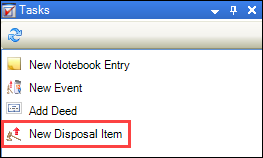
Click the New Disposal Item option in the Tasks panel.
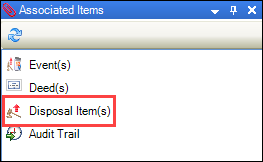
Alternatively, click the Disposal item(s) option in the Associated Items panel and then double-click an existing record to edit it.
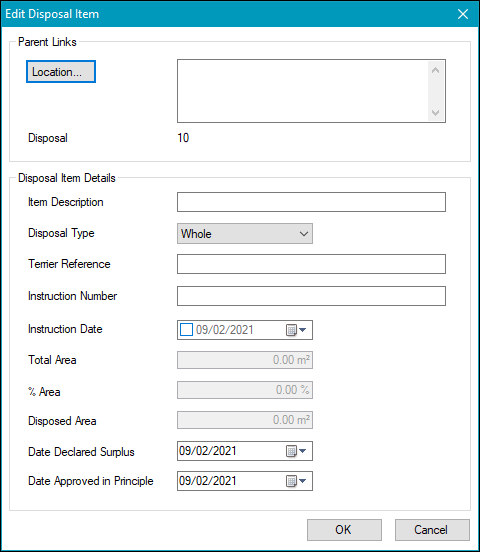
The Edit Disposal Item window is displayed.
-
Enter or edit the relevant details.
The fields on the Edit Disposal Item window are described in the following table.
| Section | This field | Holds this information... |
|---|---|---|
| Parent Links | Location |
The location to be disposed of. Click the Location button to display the Location Picker, then select the relevant location. Selecting the location automatically populates the fields in the Disposal Item Details section. |
| Disposal | The disposal number. This is populated automatically based on the Disposal record and cannot be edited. | |
| Disposal Item Details | Item Description | A description of the location being disposed of. |
| Disposal Type |
Whether the disposal is the entirety of, or part of, the location. Selecting the 'Whole' option disables the % Area and Disposed Area fields. Selecting the 'In Part' option allows you to edit these fields. |
|
| Terrier Reference | The terrier reference, if applicable. | |
| Instruction Number | The instruction number, if applicable. | |
| Instruction Date | The date the instruction was recorded, if applicable. | |
| Total Area | The total area of the selected location. This is populated automatically and cannot be edited. | |
| % Area |
The percentage of the area to be disposed. This can only be edited if the Disposal Type field is set to 'In Part'. Note: Editing this field changes the Disposed Area field automatically. |
|
| Disposed Area |
The area to be disposed. This can only be edited if the Disposal Type field is set to 'In Part'. Note: Editing this field changes the % Area field automatically. |
|
| Date Declared Surplus | The date the location was declared surplus to requirements. | |
| Date Approved in Principle | The date the disposal of the location was approved in principle. |
-
Click Save.
To link a deed to a disposal:
-
Search for and open the relevant disposal record.
-
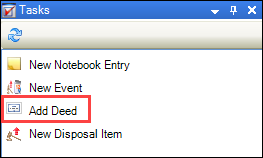
Click the Add Deed option in the Tasks panel.
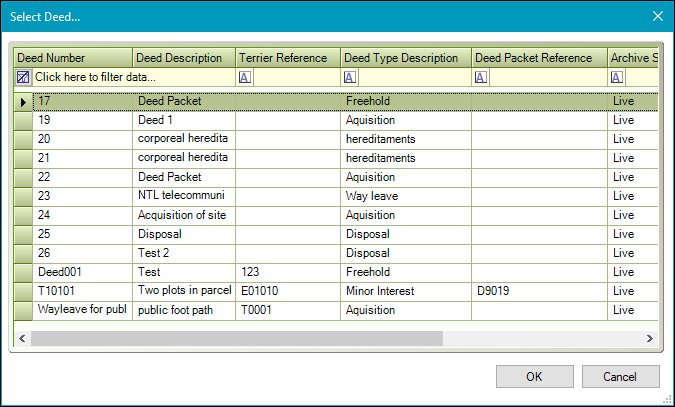
The Select Deed window is displayed, which only displays deeds not already linked to a disposal. This is because a deed can only be linked to one disposal. However, a disposal record can be linked to multiple deeds.
-
Select the relevant record and then click OK.
The deed is then linked. It can be viewed on the Deed List screen, accessed by clicking the Deed(s) option in the Associated Items panel.
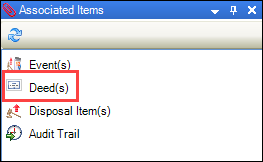
Note: You can also remove deeds on this screen by selecting the relevant record and clicking the Delete button.
To add or edit an event:
-
Search for and open the relevant consent record.
-
Select the New Event option in the Tasks panel.
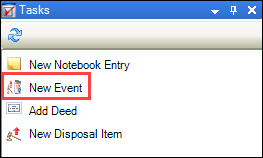
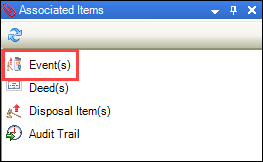
Alternatively, select the Event(s) option from the Associated Items panel, and then double-click an existing record.
The Event window is displayed.
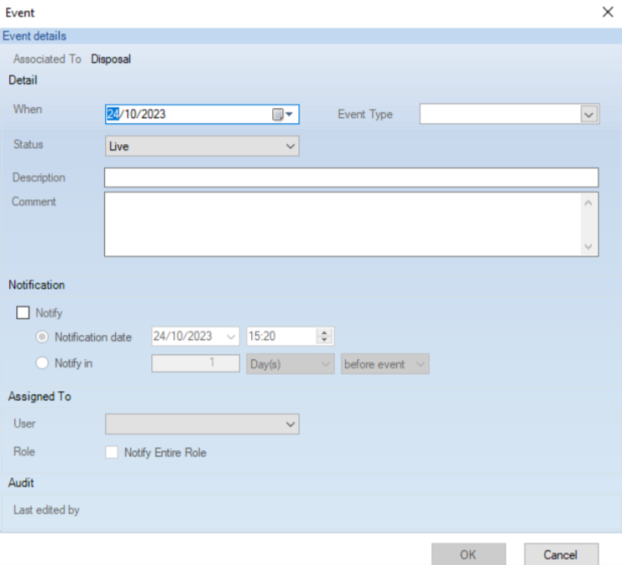
- Enter or edit the relevant details.
The fields on the Event window are described in the following table.
| This field | Holds this information... |
|---|---|
| Associated To | The record type that the event is linked to. This defaults to Disposal and cannot be edited. |
| When | The date of the event. |
| Status | The event status (for example: Live). |
| Event Type |
The event type. Note: These can be defined in Disposal Event Type reference data (accessed by navigating to Estates > Disposal > Disposal). |
| Description | A description of the event. |
| Comment | Further information on the event. |
| Notify |
Whether to create a notification message. If selected, do one of the following:
|
| User |
Record will be sent to the selected individual only. Note: When Notify is ticked and Notify Entire Role is unticked, send to selected User only. |
| Notify Entire Role |
When selected, a notification will be sent those with the new Disposal Notification role. Note: When Notify is ticked and Notify Role is ticked, and sent to Disposal Notification Note: When Notify Entire Role has been ticked, no value can be selected from User Drop Down. |
| Last Edited By | The user who last updated the event details. |
- Click OK.
To delete an event from a disposal:
-
Search for and open the relevant disposal record.
-
Select the event record to be deleted.

-
Click on Delete.
Note: Only users with full access to Disposal or the System Administrator role can delete an event.
-
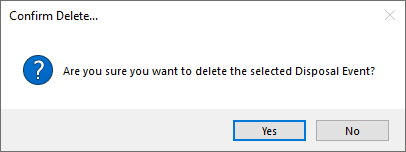
The following message is displayed.
-
Click on Yes.
-
Check that the event has been deleted.

-
Click on the Associated Items tab then Audit Trail.
-
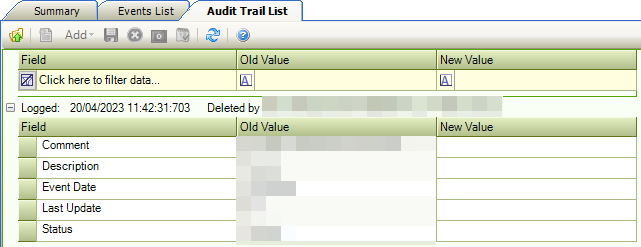
Check that the disposal event deletion is displayed in the audit trail.
-
Click on View then Calendar.
-
Check that the event has been deleted from the calendar.

-
Click on View then Panels and Notifications the event notification has been deleted.
Refer to Manage Notes for further information.